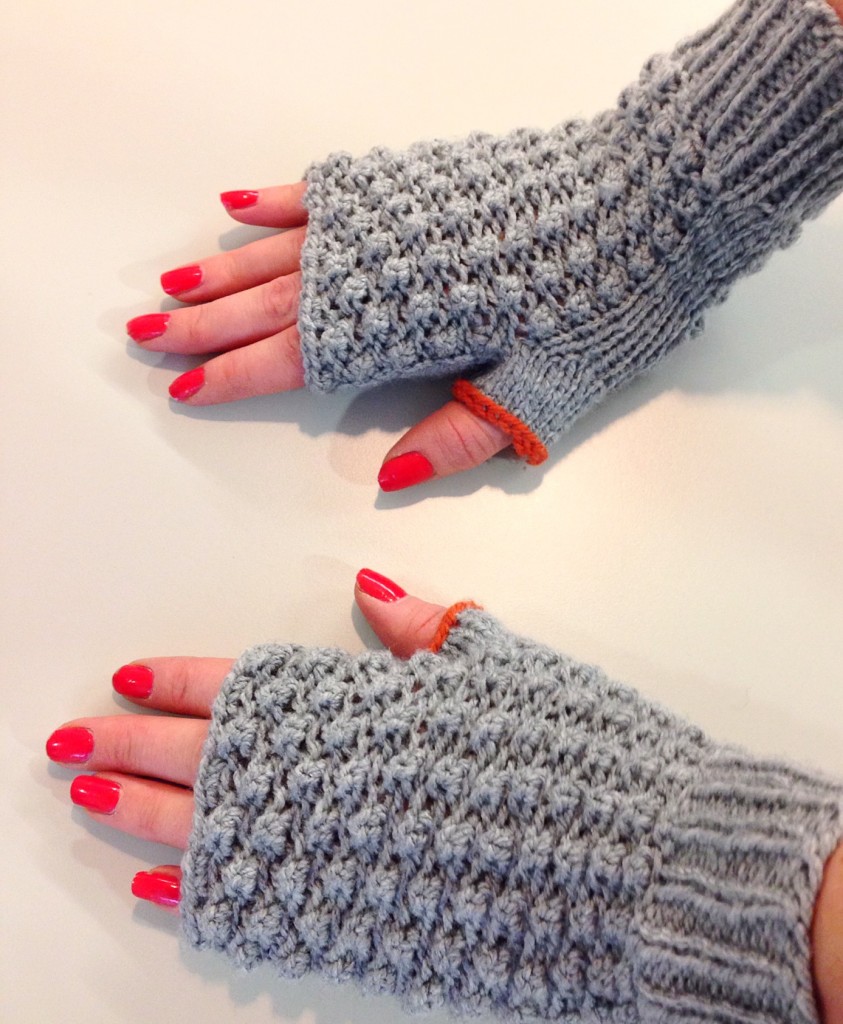
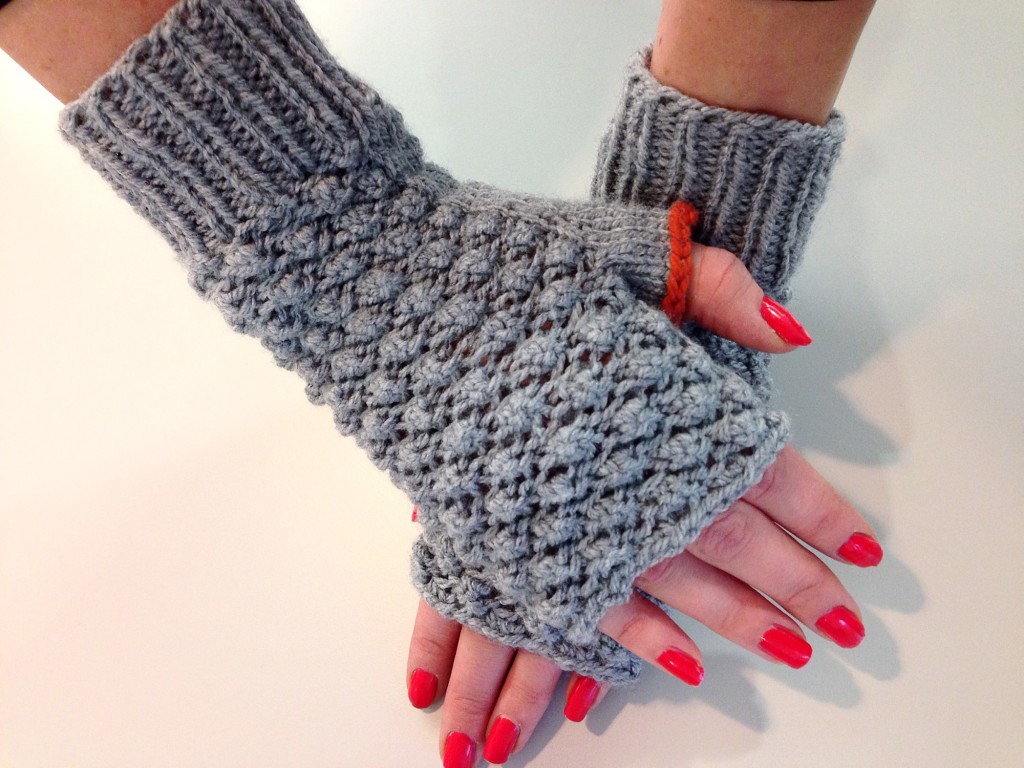
In January, I posted about the Raspberry Stitch Mittens I had made for my friend Su. These winter warmers were made using Debbie Bliss Paloma chunky yarn. They have been so well received and I’ve had some lovely comments about them (which was a nice surprise). So much so I had a request to make them in aran weight yarn, with a bright contrast thumb!
Leon wanted ‘his and hers’ fingerless mittens, a pair for him and a pair for his wife. The only difference, the colour on the thumb! So I set about recrafting my pattern to suit the different yarn weight. Here’s the free knitting pattern for you to try…

Mittens pattern
As before, these mittens are constructed in the round on circular needles using the magic loop method, which you can learn here. The pattern incorporates raspberry stitch (or trinity stitch as it’s also known) with stockinette thumb panels, and a ribbed cuff.
Yarn: (I used an aran weight yarn that Leon supplied to me – please check gauge with a swatch in stockinette before starting pattern)
Needles: 5mm circular needles
Gauge: 18 sts x 24 rows per 4″
Key:
K – knit
P – purl
K3TOG – knit three stitches together
BOR – beginning of round
M1L – Insert left needle from front to back under the horizontal strand between stitch just worked and next stitch, knit into the back of the stitch.
M1R – Insert left needle from back to front under the horizontal strand between stitch just worked and next stitch, knit into the front of the stitch.
This video shows how to do both of these increase stitches.
Cast on 32 stitches. Join knitting in the round being careful not to twist your stitches. Place marker for BOR.
For the cuff, K1 P1 rib for 10 rounds.
Raspberry stitch pattern with stockinette panel repeat:
Round 1 – K2, P28, K2
Round 2 – K2, (PKP into same stitch, K3TOG)* repeat bracket section until 2 stitches remain, K2
Round 3 – K2, P28, K2
Round 4 – K2, (K3TOG, PKP into same stitch)* repeat bracket section until 2 stitches remain, K2
Repeat the above six times in total before moving onto the thumb gusset increases.

Thumb gusset increases:
At the very beginning of the next round K1, M1L, K1. Continue in raspberry stitch pattern as above until 2 stitches remain, then K1, M1R, K1. You now have 34 stitches in total.
Next round K3, continue in raspberry stitch pattern as established until 3 stitches remain, K3.
Next round increase again as follows: K2, M1L, K1, continue in raspberry stitch pattern as established until 3 stitches remain, K1, M1R, K2. You now have 36 stitches in total.
Next round K4, then place the stitches you just knitted and the last 4 stitches from the previous round onto a stitch holder.
Next round, continue in raspberry stitch pattern as established (without the K2 at the beginning and end), but at the end of the round cast on 4 stitches using backward loop cast on and place marker for BOR in the middle of these 4 stitches.
To finish…
Continue knitting the raspberry stitch repeat as above a total of five more times. Then cast off all stitches knitwise.
For the thumb, pick up and knit 8 stitches around the thumb hole, then knit the 8 stitches from the stitch holder. Place marker for BOR. Knit all 16 stitches a total of 6 times and cast off all stitches knitwise. Weave in ends.
Contrast thumb
To add the contrast thumb, cast off the last round with a different coloured yarn, joining at the beginning of the round. To weave in ends without showing the contrast yarn through the grey stitches, I used a magic knot and rejoined the grey yarn to the last cast off stitch, then weaved in the ends invisibly into the inside of the thumb.

